
A Step-By-Step Guide to Tiling Your Bathroom Floor Like A Pro
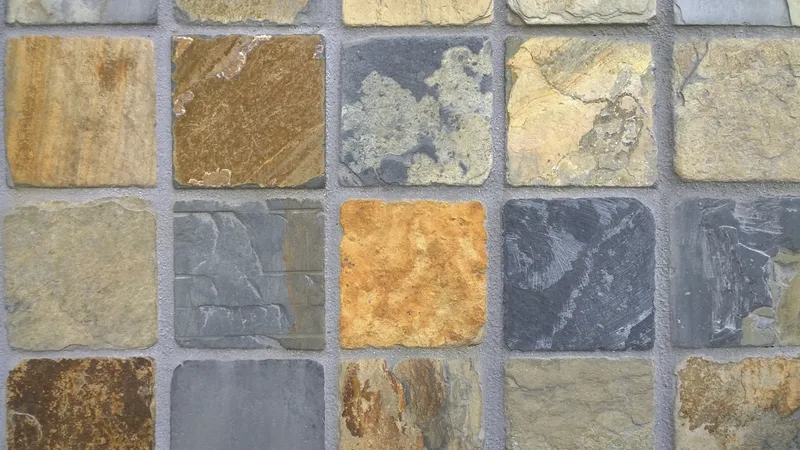
A beautiful bathroom floor can not only elevate the overall look of your bathroom but can also increase the value of your home. Tiling a bathroom floor may seem like a daunting task, but it is not impossible. If you have the right tools and follow some basic steps, you can have a stunning bathroom floor that you can be proud of. In this guide, we will take you through a step-by-step process on how to tile your bathroom floor like a pro.
Step 1: Prepare your surface
The first step in tiling any surface is to prepare it. Start by removing all your bathroom fixtures and cleaning the surface thoroughly. This includes removing any old tiles, cleaning the debris, and ensuring the surface is free of any grease or dirt. Once the surface is clean, allow it to dry completely before moving to the next step.
Step 2: Determine your tile layout
Before you start tiling your bathroom floor, you need to determine how you want your tiles to look. Map out your pattern by drawing a layout on your bathroom floor. This allows you to ensure you don't end up with small or awkward tiles in any area. Once you have your layout, measure your bathroom floor to determine the number of tiles you'll need for the project.
Step 3: Preparing your adhesive
To start tiling, make sure you have the right adhesive for your tiles. There are different types of adhesives, including cement-based and latex-based adhesives. Mix your adhesive and water according to the manufacturer's instructions. Make sure you mix enough adhesive to keep you going until you complete the project.
Step 4: Lay your tiles
Starting at the center of the room, begin to lay your tiles one by one. Use spacers to ensure you have even spaces around each tile. You may need to cut some tiles to ensure you fill any odd-shaped corners. Continue laying your tiles according to your pattern until you've covered the entire bathroom floor.
Step 5: Grouting your tiles
Once you've laid your tiles, allow the adhesive to dry for at least 24 hours. Once dry, carefully remove any spacers and start applying your grout. Spread the grout over the tiles using a grout float, ensuring you fill all the gaps between the tiles. Allow the grout to set for at least 10 minutes before wiping off any excess grout. Once the grout has dried, clean the tiles to remove any grout remaining on them.
Tiling a bathroom floor might seem like a daunting task, but if you follow this guide step-by-step, you can do it like a pro. A bathroom floor can add value to your home and elevate your bathroom's overall look. Don't rush the job; take time to prepare and use the right tools and materials. With a bit of patience and attention to detail, your bathroom floor will be looking like new in no time. If you need any advice when it comes to installing your bathroom tiles, always consult a professional.
https://www.bathroomremodelcincinnatioh.com/
www.bathroomremodelcincinnatioh.com/
A beautiful bathroom floor can not only elevate the overall look of your bathroom but can also increase the value of your home. Tiling a bathroom floor may seem like a daunting task, but it is not impossible. If you have the right tools and follow some basic steps, you can have a stunning bathroom…